

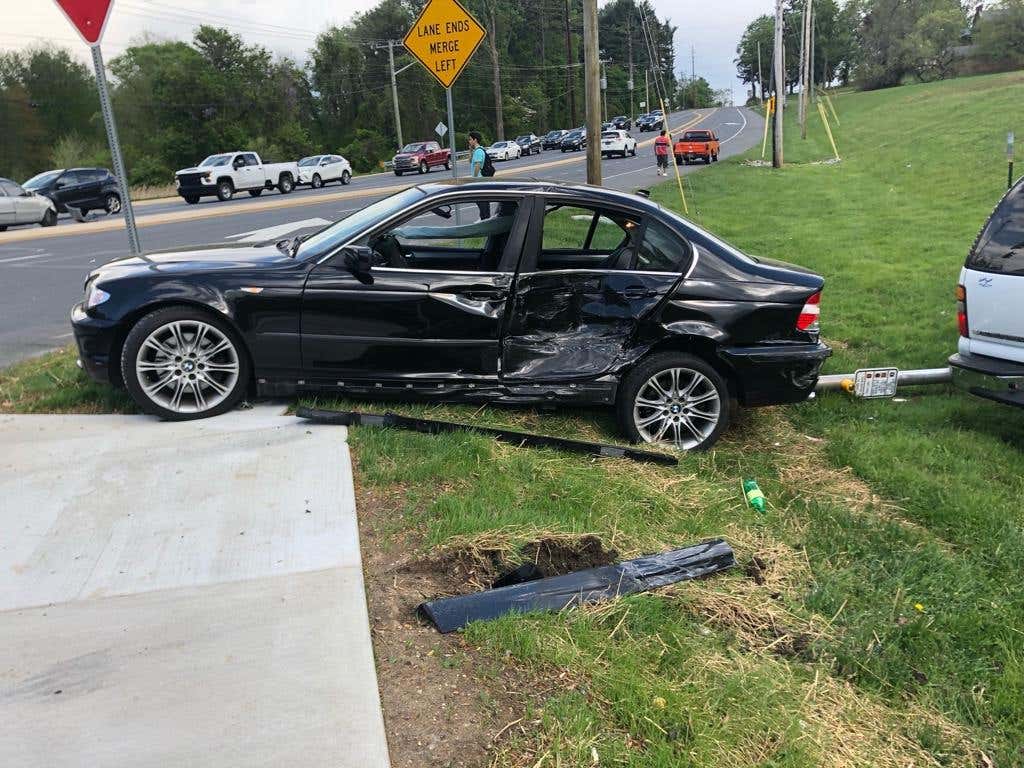
My son and I recently did a complete heart and soul swap on a 2004 330xi. We started with a freshly wrecked Black 2004 330xi that I bought back in 2006.
![Image]()
![Image]()
This was deemed 100% my son’s fault. In order to keep insurance down we did not claim any damage for our car and simply had it towed to our house. After our previous experience with his wrecked E46 M3, I did not want to attempt to simply part out the car and end up with a ton of more car parts in my basement.
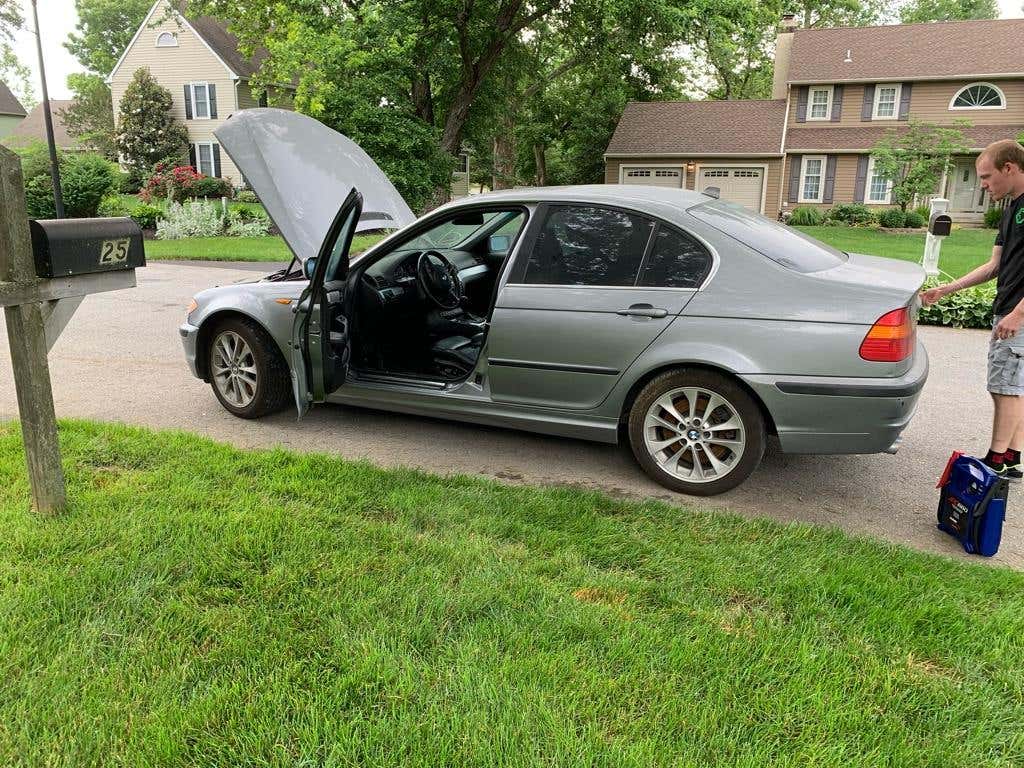
After a bit of searching, we found an almost identically spec’ed rust free xi on copart in Utah.
https://www.copart.com/lot/43415661/clean-title-2004-bmw-330-xi-ut-salt-lake-city
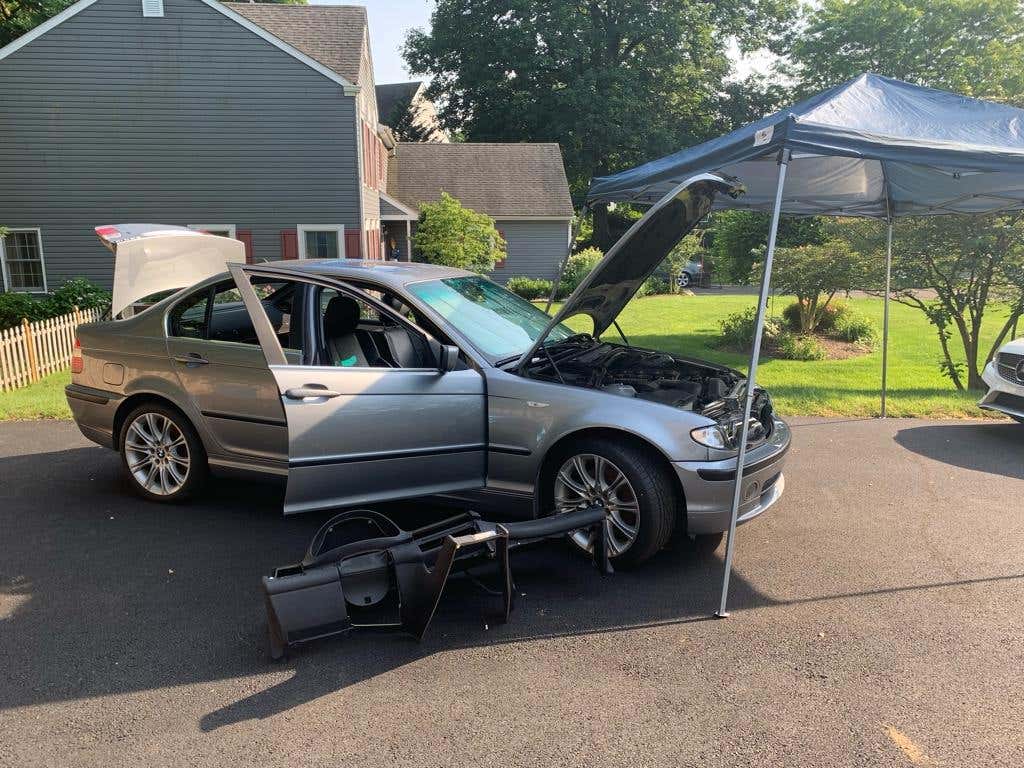
The only differences were that this car is silver and an automatic and our black car was a manual. Soon it arrived at our house…
![Image]()
With a jump box hooked up we tried starting it but it just blew dried coolant out of the expansion tank. It clearly overheated and blew the head gasket. Of course this didn’t matter as the other engine still worked great. The good news was that there was no rust anywhere. Even the expected surface rust underneath was almost non existent. The worst news was the smell. The PO must have been a smoker.
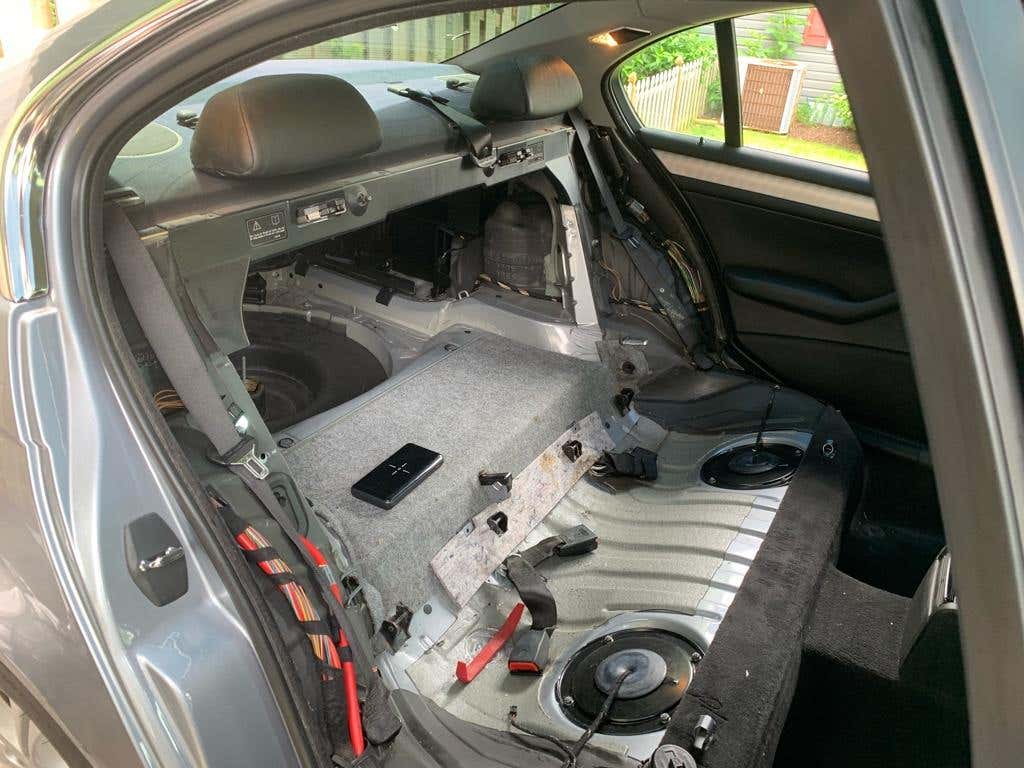
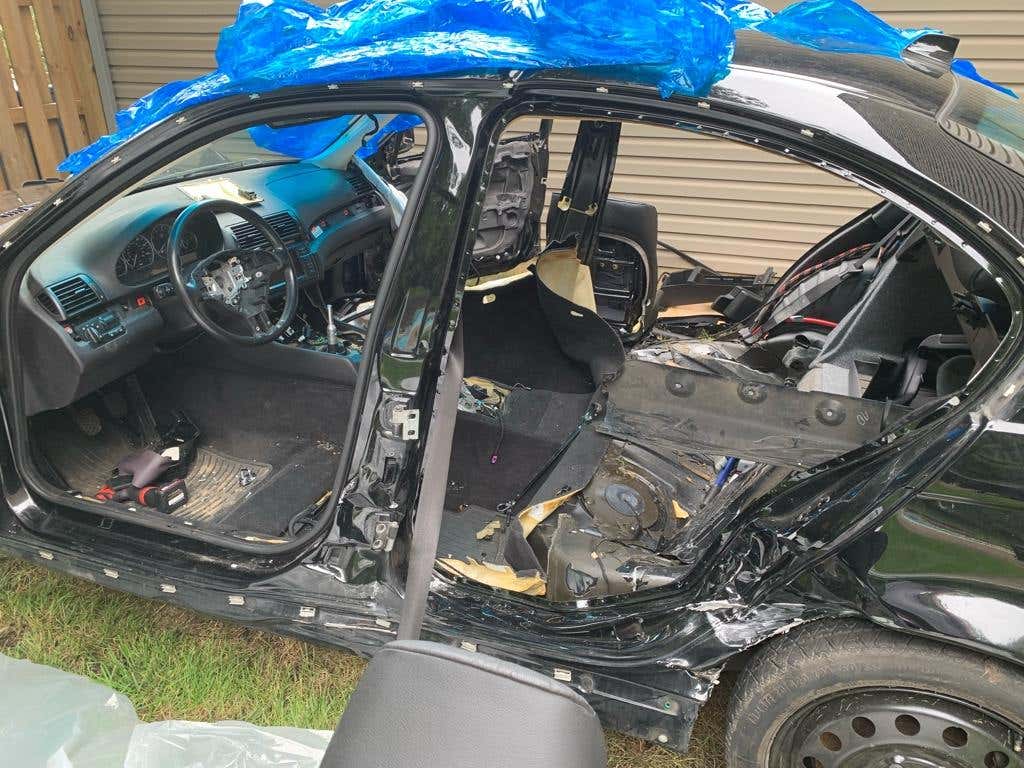
Over the next several weeks almost the entire interior was swapped over.
![Image]()
![Image]()
![Image]()
![Image]()
![Image]()
![Image]()
![Image]()
![Image]()
![Image]()
Seats, dash (and AC ducts), carpet, rear deck, trunk panels, and even the sunroof. The only things that remained from the silver car was the headliner (it didn’t sag), the pillars, the door cards (destroyed from the wreck), and the passenger seat frame (leather was transferred though).
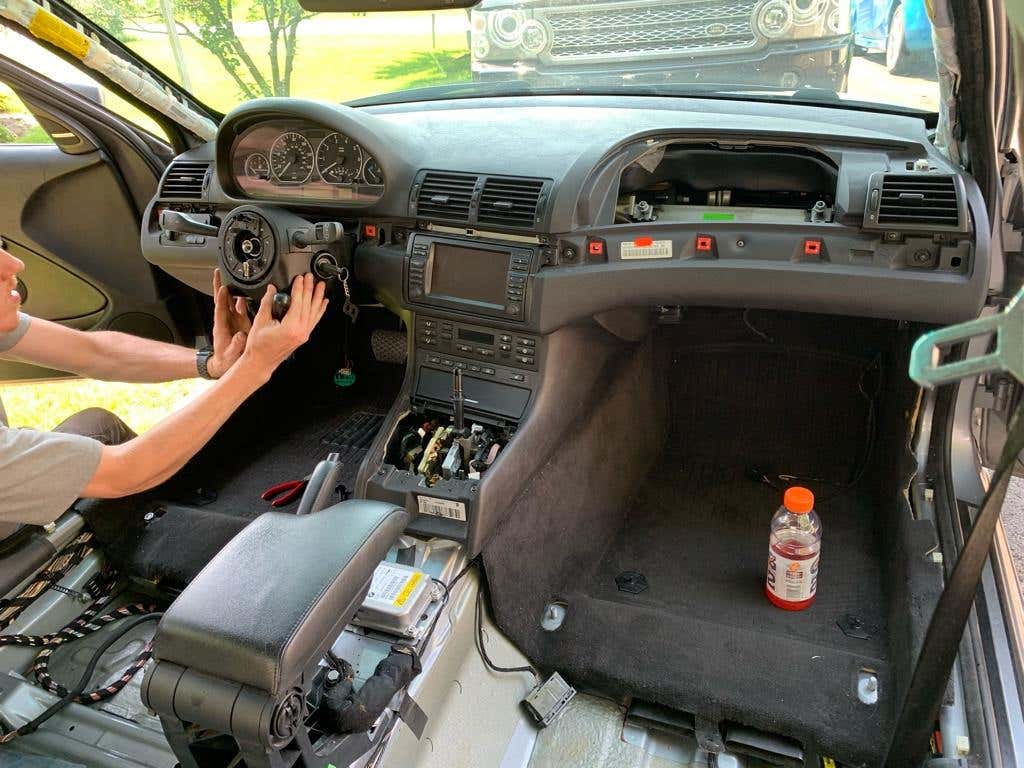
We also transferred over the lights, ZHP wheels, and our retrofits - rear shade, PDC, Blue Bus, and navigation.
Once everything was swapped over the smell was almost entirely gone. We did buy a few new parts like headlight lenses, fender lights, and a few eBay specials like a left euro taillight. In the end the car was looking great.

This was deemed 100% my son’s fault. In order to keep insurance down we did not claim any damage for our car and simply had it towed to our house. After our previous experience with his wrecked E46 M3, I did not want to attempt to simply part out the car and end up with a ton of more car parts in my basement.
After a bit of searching, we found an almost identically spec’ed rust free xi on copart in Utah.
https://www.copart.com/lot/43415661/clean-title-2004-bmw-330-xi-ut-salt-lake-city
The only differences were that this car is silver and an automatic and our black car was a manual. Soon it arrived at our house…
With a jump box hooked up we tried starting it but it just blew dried coolant out of the expansion tank. It clearly overheated and blew the head gasket. Of course this didn’t matter as the other engine still worked great. The good news was that there was no rust anywhere. Even the expected surface rust underneath was almost non existent. The worst news was the smell. The PO must have been a smoker.
Over the next several weeks almost the entire interior was swapped over.
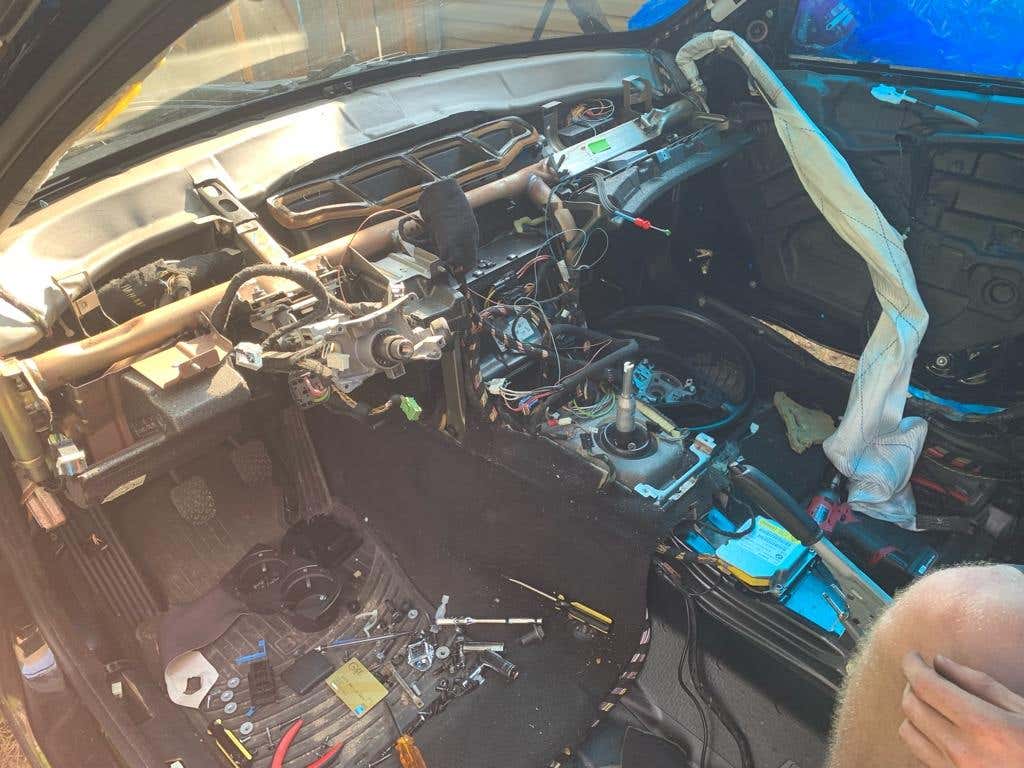
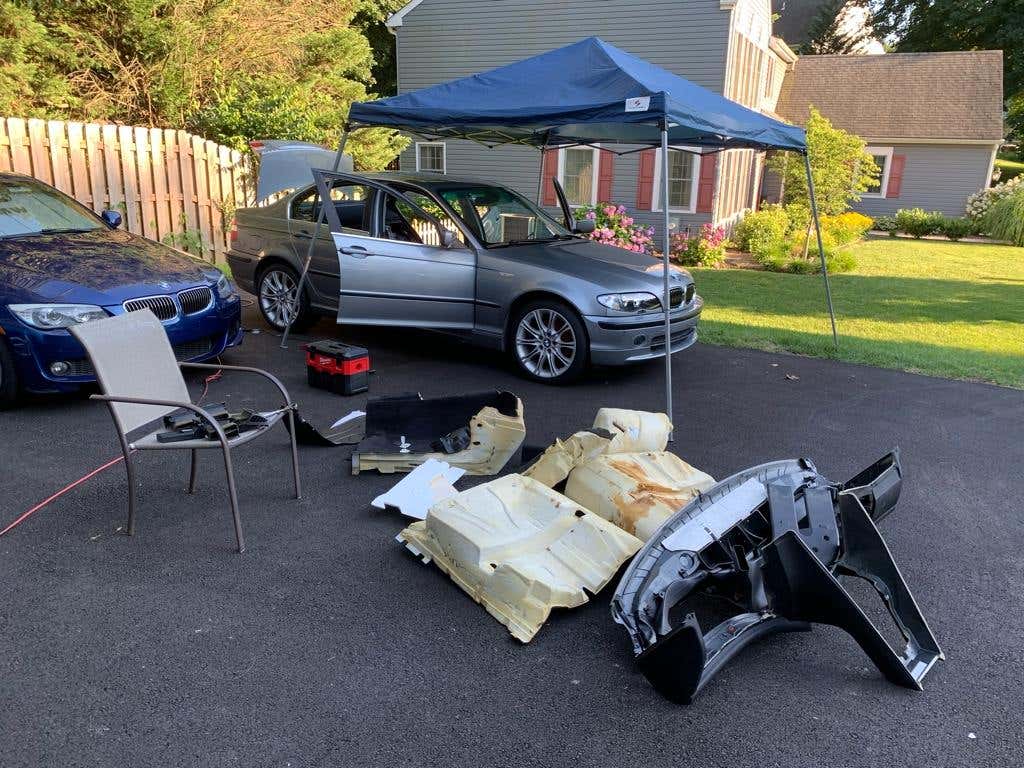

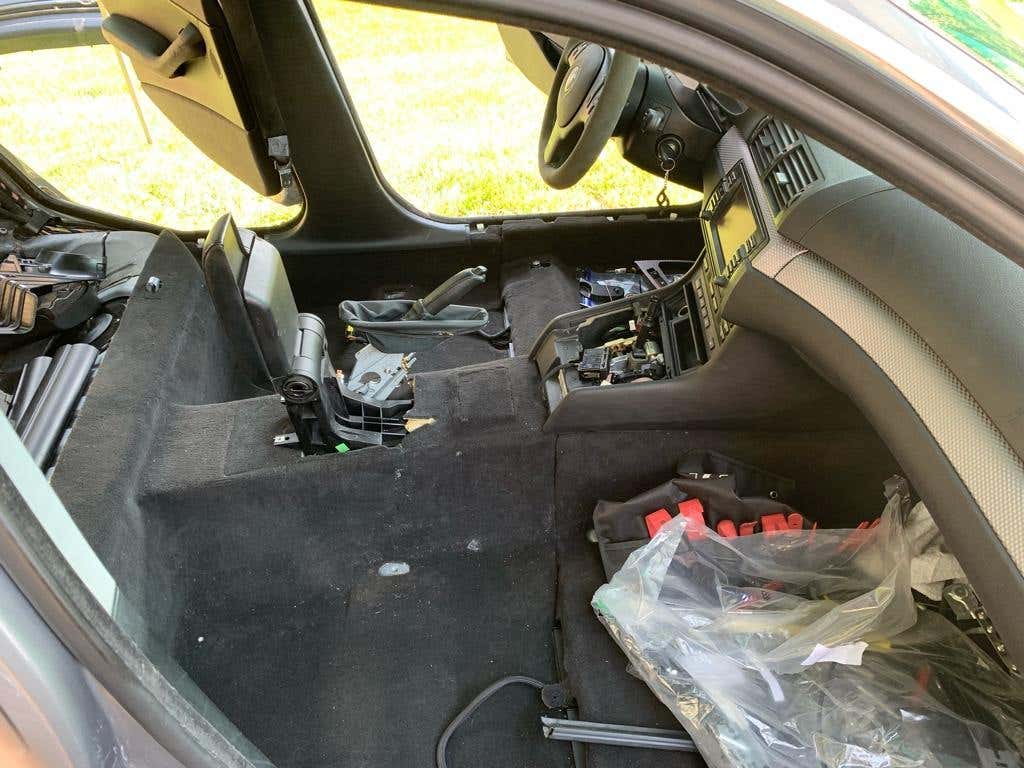
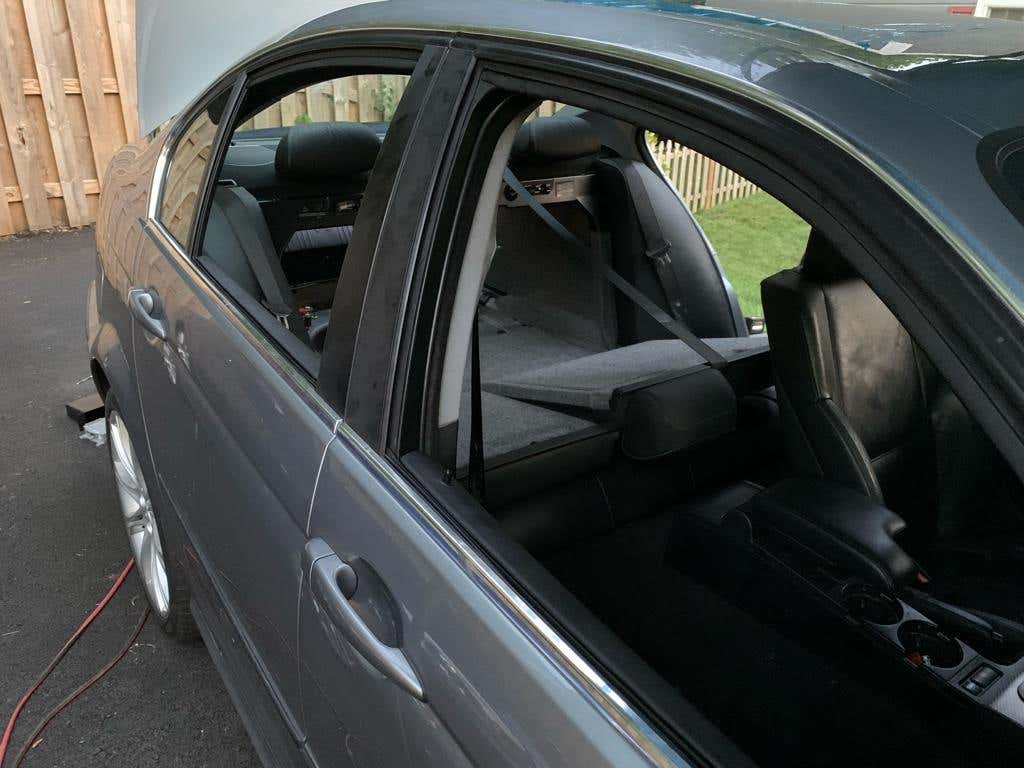
Seats, dash (and AC ducts), carpet, rear deck, trunk panels, and even the sunroof. The only things that remained from the silver car was the headliner (it didn’t sag), the pillars, the door cards (destroyed from the wreck), and the passenger seat frame (leather was transferred though).
We also transferred over the lights, ZHP wheels, and our retrofits - rear shade, PDC, Blue Bus, and navigation.
Once everything was swapped over the smell was almost entirely gone. We did buy a few new parts like headlight lenses, fender lights, and a few eBay specials like a left euro taillight. In the end the car was looking great.


